Andero Avastu
Web Developer
How to use Framify's extension
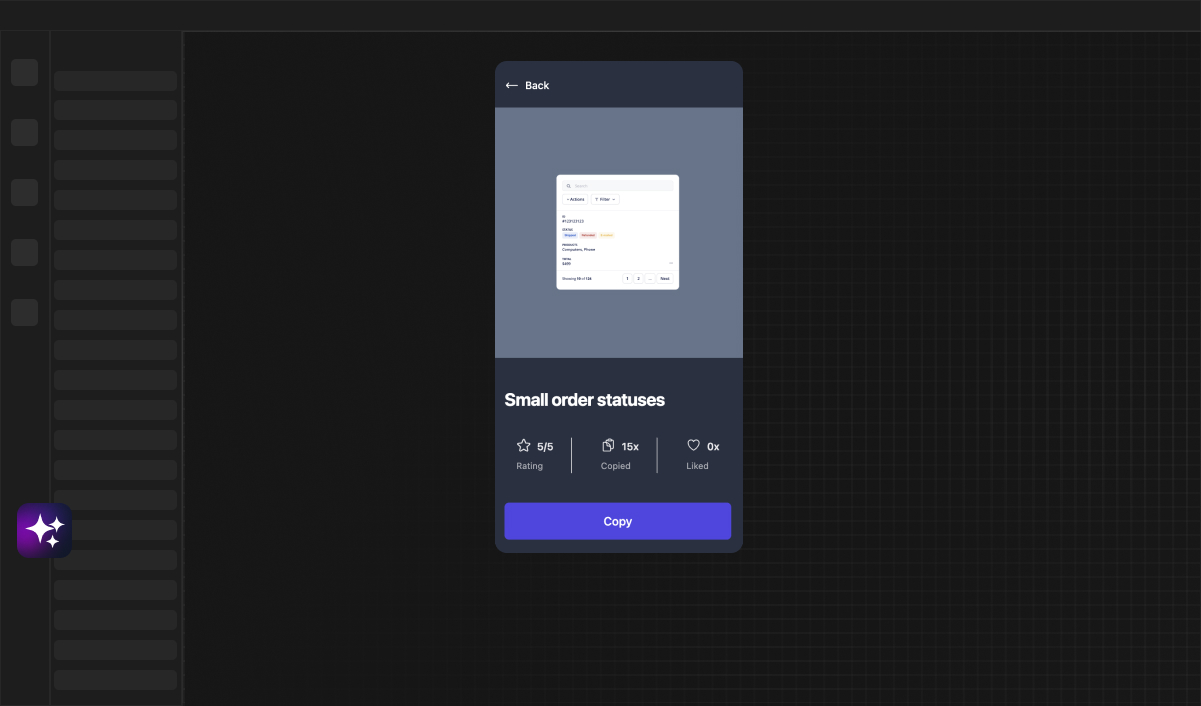
Framify's Extension makes working on Bubble and Webflow projects easy. This short tutorial will help you start using the extension quickly.
Starting With Framify's Extension
Open Your Project
- Open your Bubble or Webflow project.
Click on Framify's Extension
- Find the Framify's Extension icon at the bottom left corner, give it a tap.

What buttons to use, to save / paste components?
For determining which buttons to use for saving components or pasting them please follow this instruction here: https://framify.io/blog/creating-ui-kits
Onboarding in Framify's Extension
Welcome Guide
- As you click the extension icon, a friendly welcome guide will greet you. This guide is designed to help you understand the basic features of Framify's Extension.
Follow the Guide
- The onboarding guide will take you through a quick tour showing you the key features of the extension. It's like having a helpful friend show you around.
Exploring Features
Use the Library
- Now, explore the library where you can find many pre-made components. These components are ready to be used in your project.
Upload Your Components
- If you have your own components, you can upload them onto Framify. You even have the option to sell your components to others.
Build Pages
- Try out the Page Builder feature to create your own pages. You can choose different components and arrange them the way you like.
Export Pages
- Once you are happy with your pages, you can easily export them to Bubble and Webflow. This makes sharing your work simple.
Conclusion: Easy Web Development
With Framify's Extension, creating web pages on Bubble and Webflow is simple and fun. Follow these steps and enjoy building your projects!


